Behind the Scenes with The VHX iOS App - UI Animation Magic Tutorial
by Gina Binetti on 12/16/14
Hello! I wanted to share an animation flow I adopted while working on the UI in our brand spanking new VHX iOS app. In this tutorial, I’ll show you how I created the more complex custom animations sprinkled throughout the app.
For this demo, I'll be using the Welcome scripting from the login screen as an example. The animation is created as a Flash FLA and exported to an MOV, which is converted to a PNG sequence. Finally, the sequence is compiled into a sprite sheet and a property list for use with UIKit in Xcode.
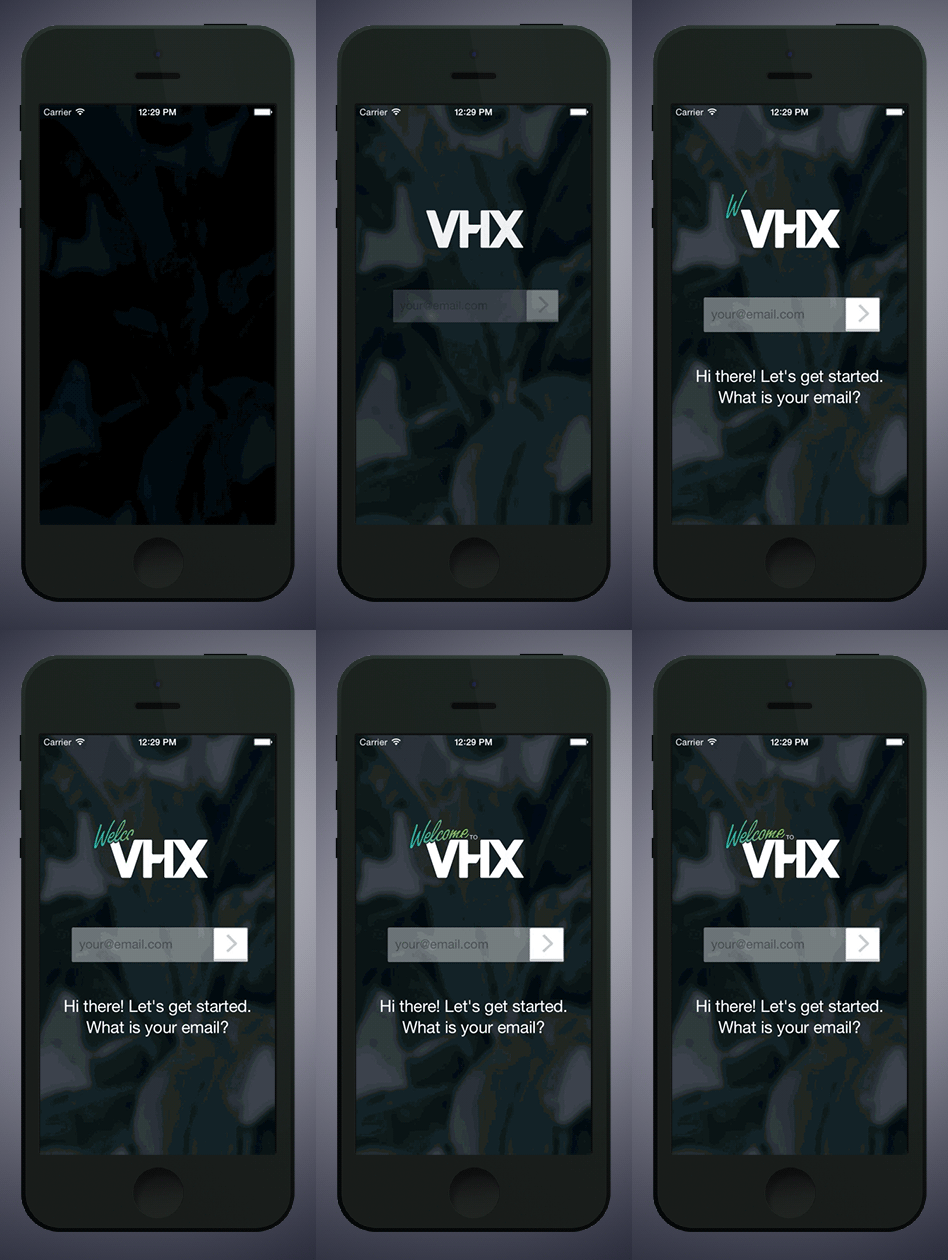
I’m sure there are a number of ways this can be done, so I’d love to hear any #protips or thoughts. Ok here goes…
You’ll need the following software:
- Adobe Flash
- Adobe Media Encoder (or another application that converts .mov to a png sequence)
- TexturePacker
- Xcode
Step 1.
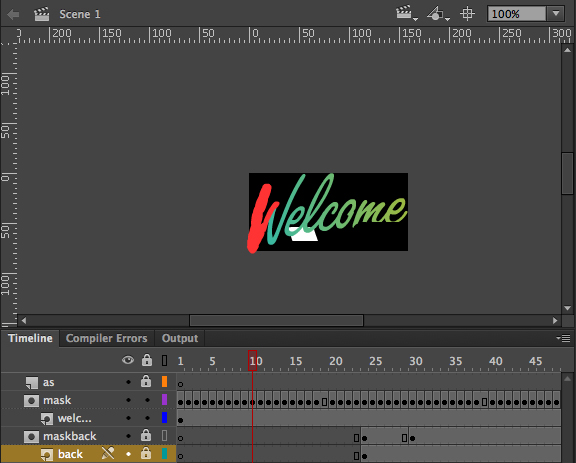
Using Adobe Flash, set up your animation however you like. To create a handwritten scripting effect for the Welcome graphic, a mask was drawn over several keyframes.
Step 2.
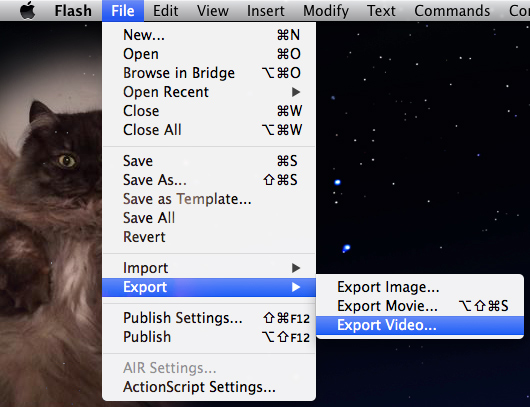
Select File > Export > Export Video… to create an MOV of your animation.
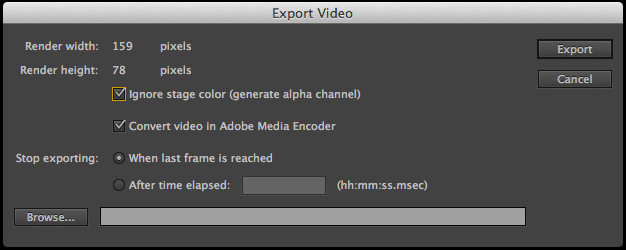
In the dialog box, make sure to check “Ignore stage color (generate alpha channel)” to retain transparency for the PNG sequence. If you’ll be using Adobe Media Encoder, check that box too. If you have scripted animation, then set an appropriate amount of time for the animation to be recorded, otherwise just select “When last frame is reached” as the last exporting option.
Step 3.
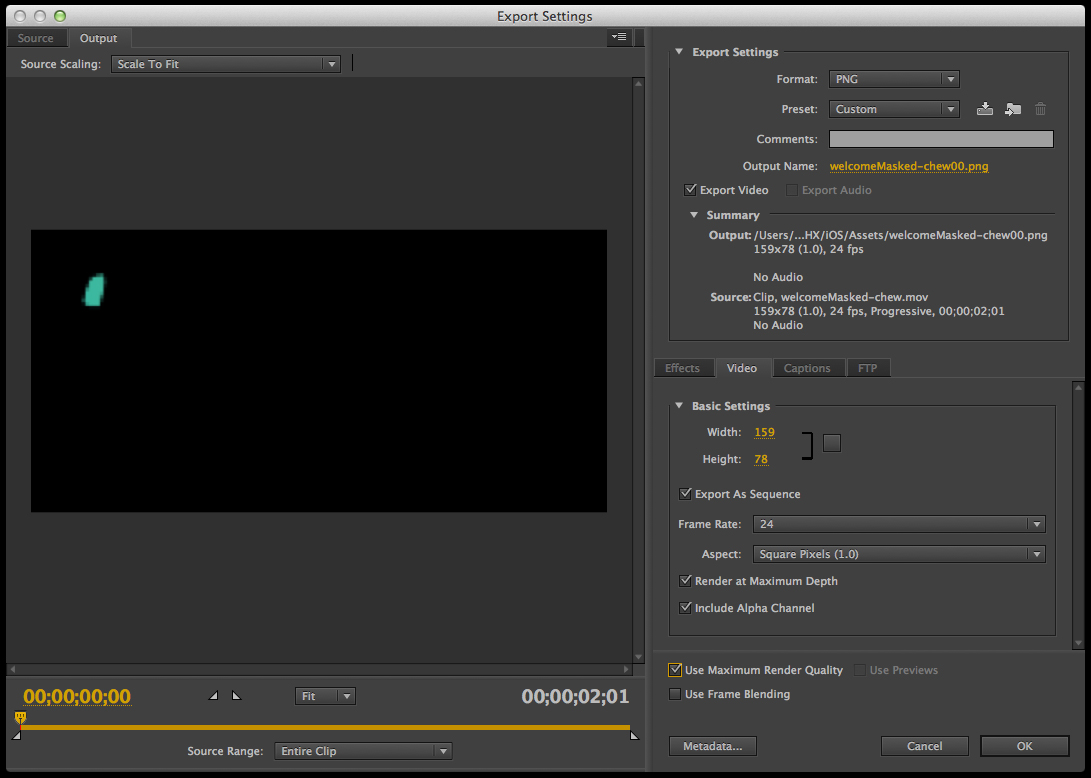
Open the .mov file in Adobe Media Encoder, and update the Export Settings to the following before exporting:
Format : PNG
Check - Export as Sequence
Frame Rate : 24
Check - Render at Maximum Depth
Check - Include Alpha Channel
(!) Be sure to change the Width and Height to match the dimensions of your Flash movie. You should also make sure the Output Name ends with “00.png”. This is so your sprite sheet can follow the format “0000”, “0001”, and so on, as you will see later.
Step 4.
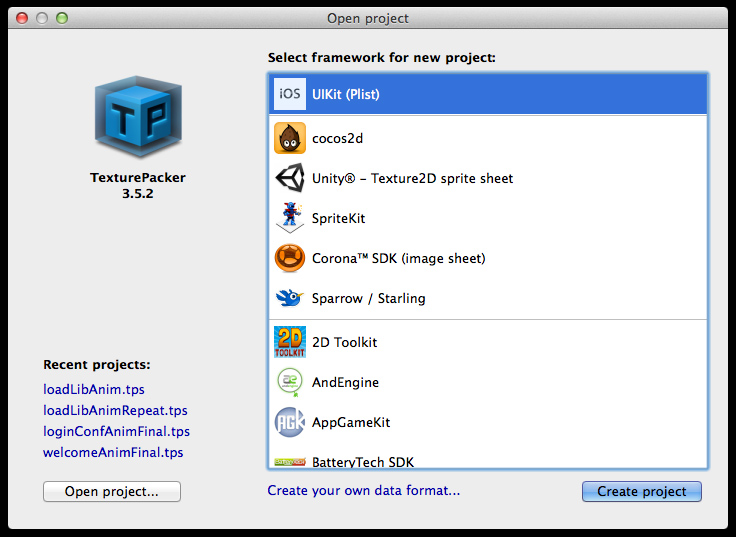
Open up TexturePacker and select UIKit (Plist) as the framework for the new project.
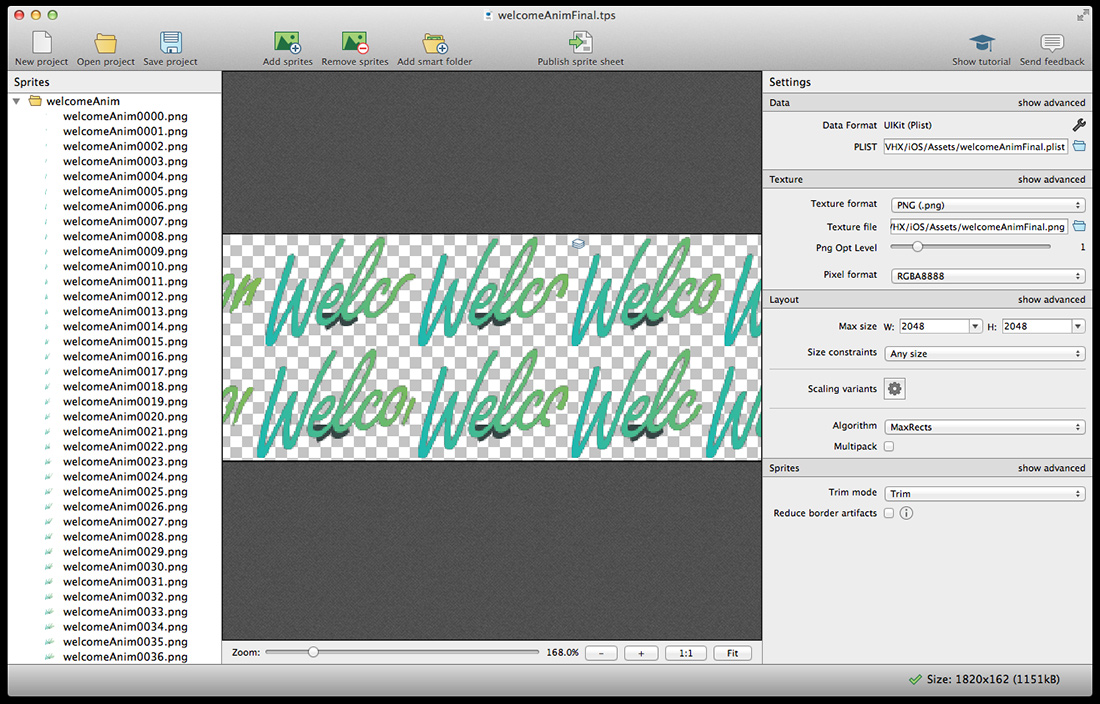
In the new project, drag your PNG sequence folder into the left pane labeled “Sprites”. Select Publish sprite sheet in the top nav. This will create a .png sprite sheet and an accompanying .plist file with the coordinates.
Step 5.
Open up your Xcode project and drag the newly created .png and .plist into your Supporting Files folder in the Project Navigator area. The TexturePacker classes will be looking for the "@2x” extension for retina display devices so be sure to add this suffix to both files or expect a crash.

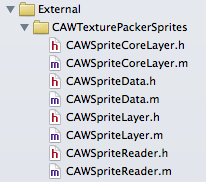
Drag the TexturePacker class files from CodeAndWeb into your project.
Step 6.
Write the actual code that makes it do stuff! The Welcome animation was added to a custom subclass of UIViewController.
Add the import statements for the TexturePacker classes:
#import "CAWSpriteReader.h"
#import "CAWSpriteLayer.h"
Add a CAWSpriteLayer property to your class interface:
@property (strong, nonatomic) CAWSpriteLayer *animationLayer;
In the viewDidLoad method:
NSDictionary *spriteData = [CAWSpriteReader spritesWithContentOfFile:@"welcomeAnimFinal.plist"];
UIImage *texture = [UIImage imageNamed:@"welcomeAnimFinal.png"];
animationLayer = [CAWSpriteLayer layerWithSpriteData:spriteData andImage:texture];
[_viewLogoLockup.layer addSublayer:animationLayer]; //add the layer to any UIView layer
[animationLayer setShowLastFrame:true];
[animationLayer setPosition:CGPointMake(74.3, 115)]; //your position will vary
Then later in viewDidAppear, the animation is kicked off with this line:
[animationLayer playAnimation:@"welcomeAnim%04d" withRate:40];
You can play with the frame rate as it suits your animation. Be sure that the name you use here matches the name of the items in your .plist (before the numbers) or this will fail. The “%04d” refers to the 4 integers that represent the numbered identity of each sprite.
Step 7.
Build and celebrate!

